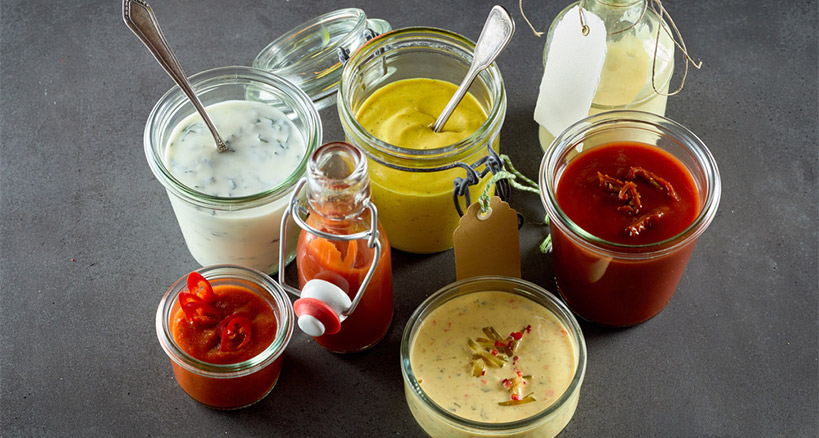
Homemade Condiments for the Trendy Caterer
As a caterer, you are always trying to set yourself apart from others in the industry with premium offerings that include the best ingredients. The goal is to differentiate your business from others with unique flavors and concepts that earn you a reputation for originality and quality. Offering homemade condiments is a way to give a specialized twist to common foods that people have in their refrigerators, giving an artisanal flare to old familiar flavors.
Homemade Condiments: Perfect for Caterers
While some home cooks may embrace the homemade trend, it’s still way easier for them to grab condiments off the supermarket shelf and store them for later use. Caterers, on the other hand, can whip up a batch of homemade condiments – to be used at a specific event – and not have to worry that it won’t last forever in the refrigerator. Store-bought condiments are loaded with sugar and chemicals, which make them long lasting but not the healthiest of items. Making your own condiments may seem to hark back to the middle of the last century but, creatively, they are a big step forward in this age of health-conscious menus that stress natural ingredients.
Go with Homemade to Impress
Made-from-scratch condiments like mayonnaise, ketchup, and mustard are healthier than store-bought options and they’re easy to make. Undoubtedly more and more of your customers are requesting healthier, more sustainable, and localized menus, and you can impress them by mentioning that even the condiments you use are made by you – and that they taste better than their mass-marketed counterparts. Offer your potential client a spoonful of your homemade mayo and they’ll immediately notice the difference from the artificially sweetened and chemically enhanced version that they have at home. They will understand that you pride yourself on the personal touch and you’ll win them over with your originality and commitment.
For all the following homemade condiments, you should use ingredients that are in season, which means that they are not only at their most flavorful, but they are also less expensive. For more efficiency, you can make a big batch and preserve it for later use.
Ketchup
Ketchup is a staple in just about every American kitchen, and for good reason. This handy, delicious condiment goes with seemingly everything. But, although for many kids (and adults) ketchup fulfills their daily vegetable requirement, the commercial forms of this condiment are overly sweetened, containing a mind-boggling number of calories in even a few tablespoons. However, you can moderate the sweetener in your homemade ketchup, while at the same time emphasizing the delicious tomato taste.
Note: This recipe calls for the use of a food mill, which separates the skin and seeds of the tomatoes from the pulp. A food processor, on the other hand, will purée everything together, resulting in a final product that has a different texture. With a food mill you will get a more refined, smoother sauce, while a food processor will yield a more granular consistency. When it comes to making ketchup, the food mill is the pulverizing tool of choice.
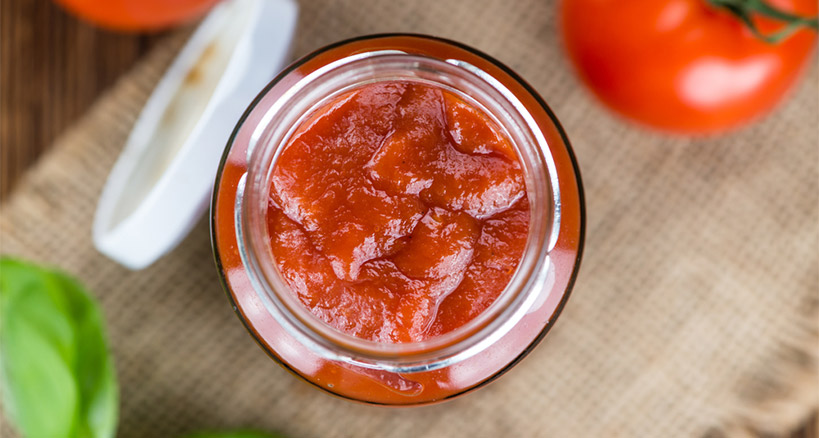
Made-From-Scratch Ketchup
Ingredients
- 2-1/4 lbs. plum tomatoes (about 6 to 8 large)
- 1-1/2 cups distilled white vinegar
- 2-1/2 tsp. coarse sea salt or kosher salt
- 1 cup sugar (or to taste)
- 1 tbs. grated onion or 1 tsp. onion powder
- 1/2 tsp. mustard powder
- 1/4 tsp. ground cinnamon
- 1/4 tsp. ground cloves
- 1/4 tsp. ground allspice
- 1/4 tsp. ground black pepper
Directions
- Bring a large pot of water to a boil. Add the tomatoes and cook until the skins break and the flesh becomes soft, five to 10 minutes.
- Drain the tomatoes and press through a fine-mesh food mill or sieve to remove the skins and seeds, and pour the sieved tomatoes into a medium-size saucepan.
- Add the vinegar and salt. Stir to combine.
- Bring the tomato mixture to a boil and then whisk in the sugar, onion, and spices.
- Return to a low boil, stirring occasionally, and cook about one hour until the mixture has reduced to one-fourth the original amount and thickened.
- Pour into a sterilized jar. Cover and refrigerate overnight. Can be stored for up to one month. (The consistency of your ketchup should be slightly thinner than bottled ketchup; it will thicken when it cools.)
Mustard
At its most basic, the condiment we call mustard, also called “prepared mustard,” are the seeds of the mustard plant, powdered, ground, or whole, plus water. When mustard seeds are broken and exposed to liquid, a reaction takes place that results in the spicy hot taste of the condiment. Adding vinegar preserves the spiciness (without it, the mustard becomes bland over time). Black mustard seeds are the hottest variety of mustard seed, while yellow seeds have the mildest flavor. In between are brown mustard seeds, which have an enhanced flavor and produce a more pronounced mustard taste than the yellow seeds. By adding cold liquid – to any of the seeds – a hotter taste results than if you use warm liquid; so for the mildest taste, stick to yellow mustard seeds and use warm liquid.
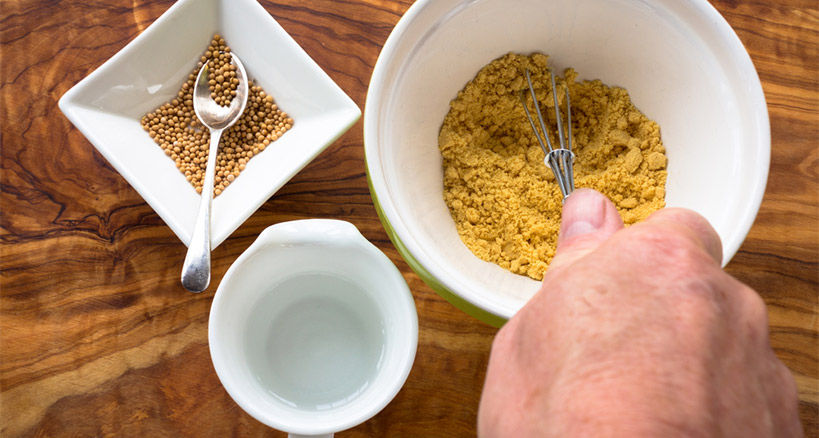
Homemade Brown Deli Mustard
For this classic mustard recipe – perfect for slathering on hot dogs and deli sandwiches – we use brown mustard seeds, which are easy to find in most markets.
Ingredients
- 1/2 cup water
- 1 cup crushed brown mustard seeds or ¾ cup whole brown mustard seeds, finely ground
- 1/2 cup red-wine vinegar
- 1 tsp. coarse sea salt or kosher salt
- 1/8 tsp. ground cinnamon
- 1/8 tsp. ground cloves
- 1/8 tsp. ground nutmeg
- 1/8 tsp. ground allspice
- 1/4 tsp. black pepper (optional)
Directions
- Mix all the ingredients in a glass or ceramic mixing bowl.
- Cover with plastic wrap and let sit at room temperature for one to two days so that the mustard begins to mellow and the flavors meld.
- If you find that the final mustard still seems slightly watery after sitting at room temperature for one or two days, pour it into a blender or food processor and process until smooth.
- Transfer to an airtight container. Cover and refrigerate overnight. Can be stored in the refrigerator for up to six months.
Mayonnaise: Made From Scratch
Mayonnaise dates back to 18th-century France, but it was first commercialized in the United States in the early 20th century by Nina and Richard Hellmann, delicatessen owners and mayo-makers extraordinaire. Aside from being the essence of tuna salad and egg salad, mayonnaise is the basis for other emulsified sauces such as tartar sauce, Thousand Island dressing, aioli, and remoulade. In scientific terms, mayonnaise is referred to as a “stable emulsion.” After oil and a small amount of water are whipped together to form a creamy sauce, an emulsifier (egg yolk) and stabilizer (mustard) are added to help keep the oil molecules in place. This creates a mixture that – almost miraculously – doesn’t separate into its individual elements.
Homemade mayo is cheaper than the store-bought version, and it includes the same ingredients – oil, eggs, vinegar, lemon juice, salt, etc. BUT commercial mayo has lots of additives (with words that are hard to pronounce), which makes it last much longer but reduces its healthfulness. Store-bought mayonnaise can stay safely in your fridge for at least a year, whereas homemade mayonnaise (which contains raw egg yolk) should be consumed within a few days. Nonetheless, for special events, there’s nothing like the homespun magic of fresh mayo to delight your guests.
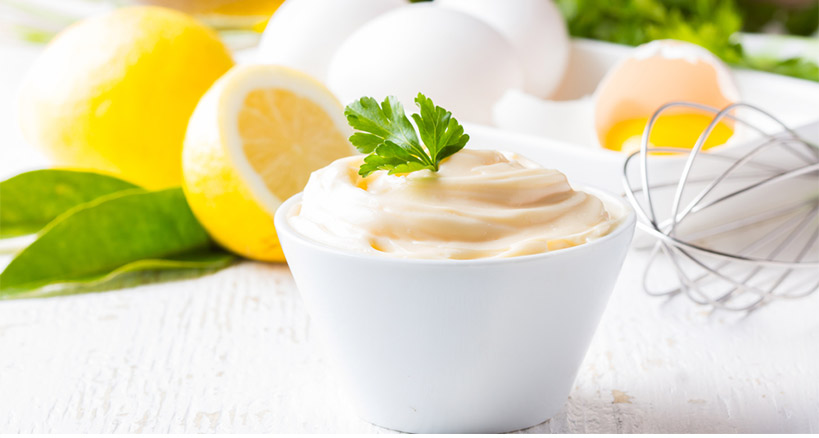
Homemade Mayo
Ingredients
- 2 raw egg yolks, at room temperature
- 1/2 tsp. coarse sea salt or kosher salt
- 1/2 tsp. mustard powder or Dijon mustard
- 1 tsp. lemon juice
- 1 tbs. white-wine vinegar or cider vinegar
- 1 cup olive oil
- Pinch of sugar (optional)
Directions
- Place the egg yolks in a blender or food processor. (You can also whisk the mixture by hand.) Process or whisk the egg yolks until they are light yellow and frothy.
- Add the salt, mustard powder, lemon juice, and vinegar and process or whisk until blended.
- With the motor running (or whisking vigorously), slowly drizzle in the oil in a light, steady stream. The mixture will thicken as the oil emulsifies, but don’t stop until you have added the entire cup of oil.
- When the oil is blended, stop the motor (or take a whisking break), and taste. Add more salt and sugar, if desired.
- Refrigerate for at least one hour before serving. Can keep stored in the refrigerator for up to three days.
Barbecue Sauce
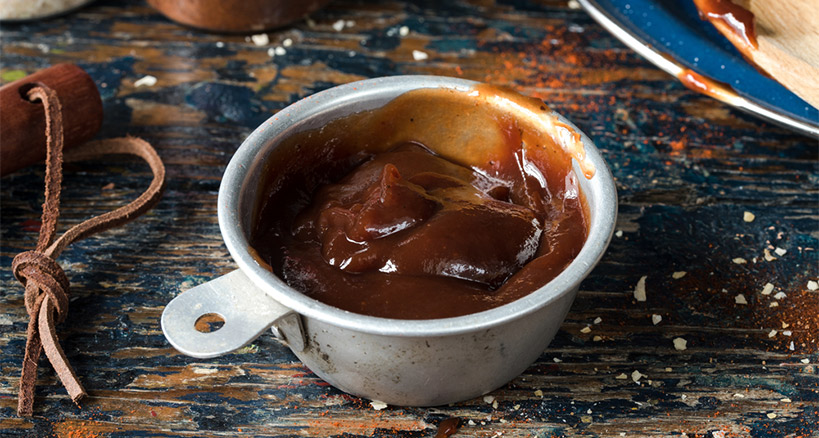
Another easy to make condiment is barbecue sauce and it doesn’t have to be very sweet either. As opposed to the ketchup- and molasses-based barbecue sauces of the southwest, Carolina BBQ Sauce is vinegar and mustard based, making it perfect with grilled chicken and fantastic for pulled beef. Feel free to be flexible with the sweetener by substituting a 1/2 cup honey or 1/2 cup maple syrup for the granulated sugar.
Ingredients
- 3/4 cup homemade mustard
- 1/2 cup granulated sugar
- 1/4 cup packed brown sugar
- 1 cup cider vinegar
- 1/4 cup water
- 1 tsp. hot paprika
- 1/4 tsp. red pepper flakes
- 1/4 tsp. ground black pepper
- 3/4 tsp. coarse sea salt or kosher salt
Directions
- Mix all the ingredients in a medium-size saucepan. Stir to combine.
- Bring to a boil over high heat and then lower the heat and simmer for 10 minutes.
- The sauce can be used immediately or refrigerated for up to one month.
Homemade Condiments Put Caterers on the Map
When you’re looking to sell yourself to clients, your food is your calling card and the bottom line is that homemade anything always tastes better than store-bought products. Because you live from event to event, the longevity of the products you use is not that critical, and your customers will appreciate the effort (which only you know wasn’t that excessive) you took to whip up fresh batches of made-from-scratch ketchup, mustard, mayonnaise, and more. If you go the homemade route, you will be able to present your menu offerings as truly your own and so much healthier than anything that contains store-bought condiments. Soon enough, your made-from-scratch condiments will be the talk of the town.